Puppets
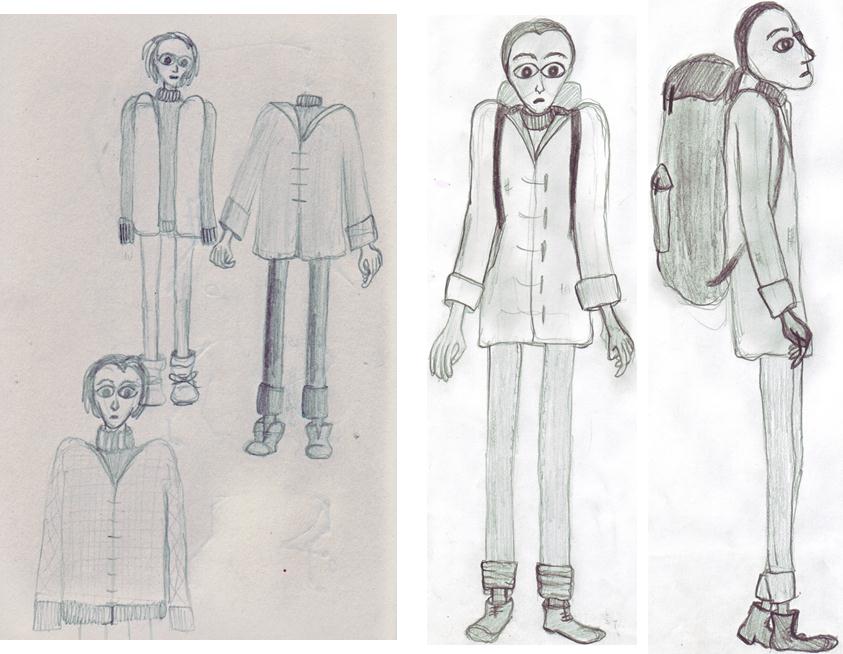

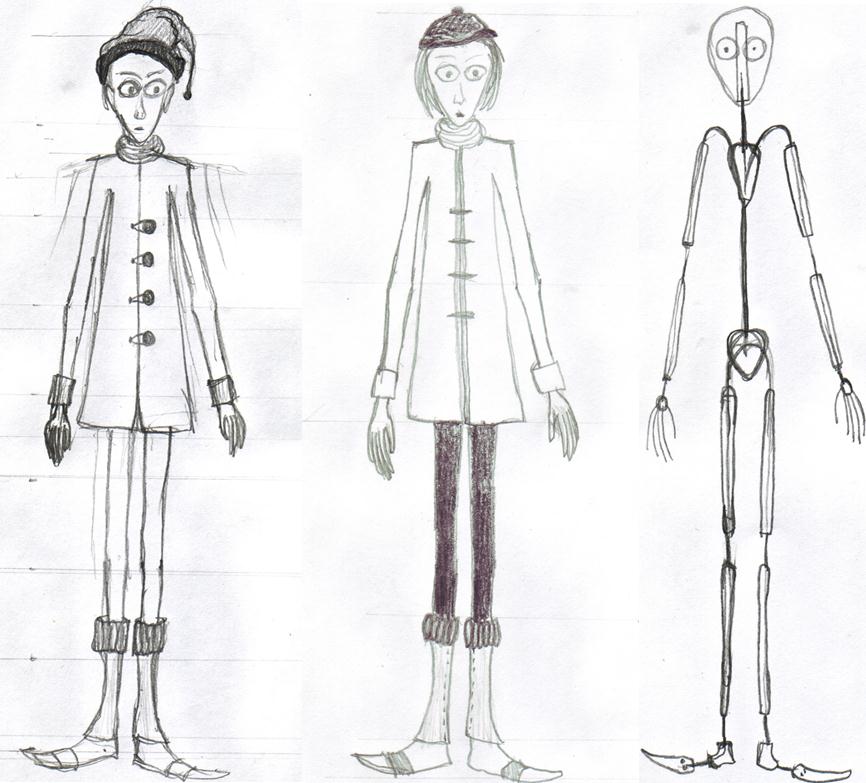
These are some early sketches and scale drawings, mainly for the man character and some for the fox character.
The last drawing are some sketches bringing in some changes in the design of the man after building the first prototype.
The last drawing are some sketches bringing in some changes in the design of the man after building the first prototype.

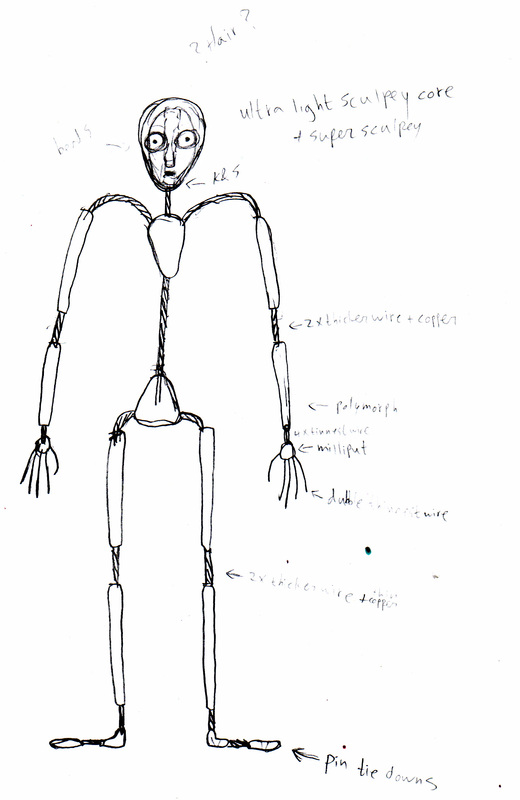
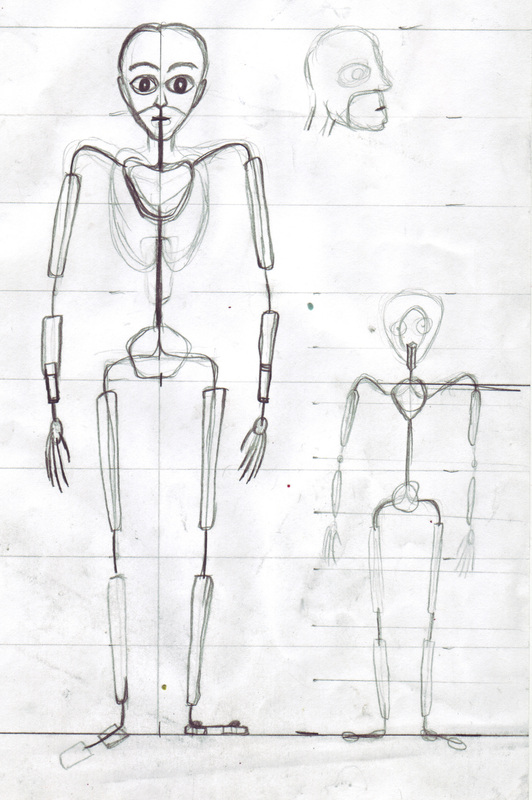
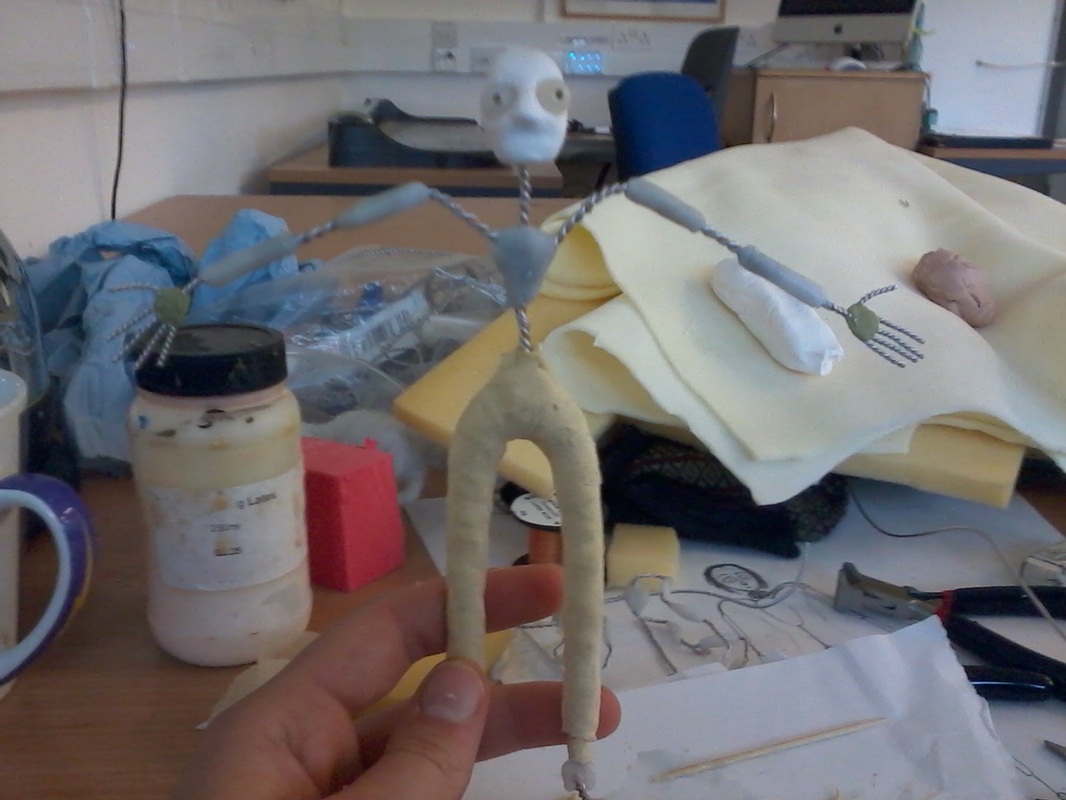
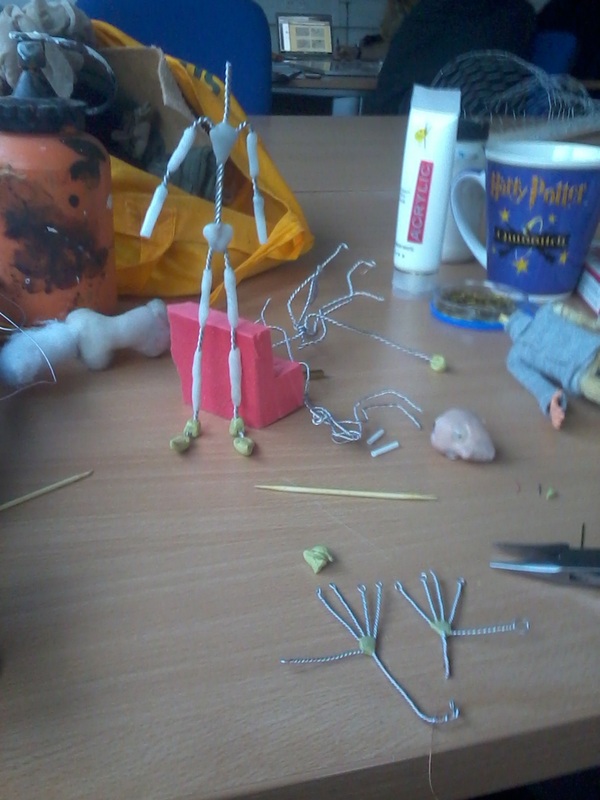
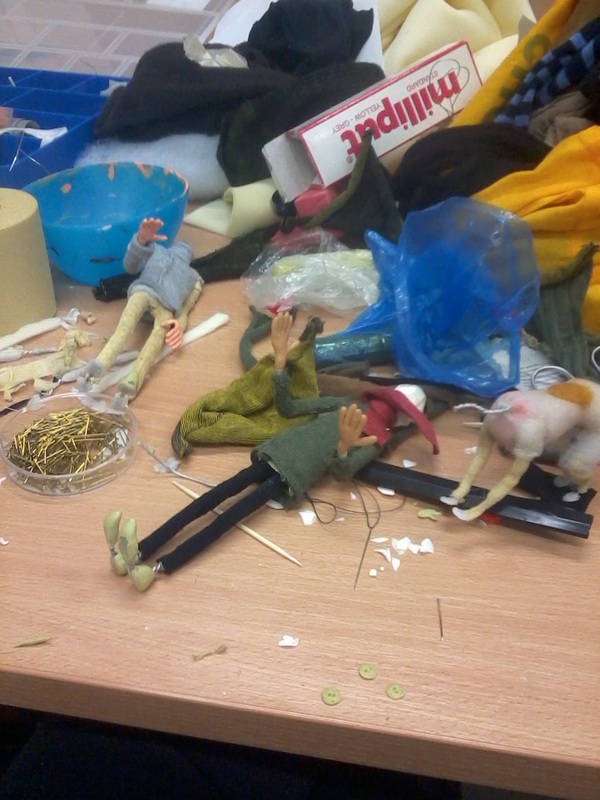
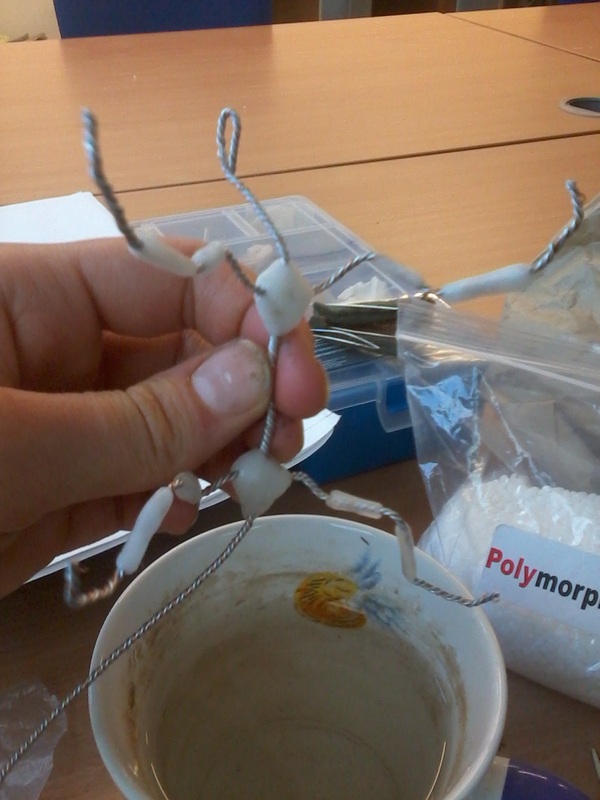
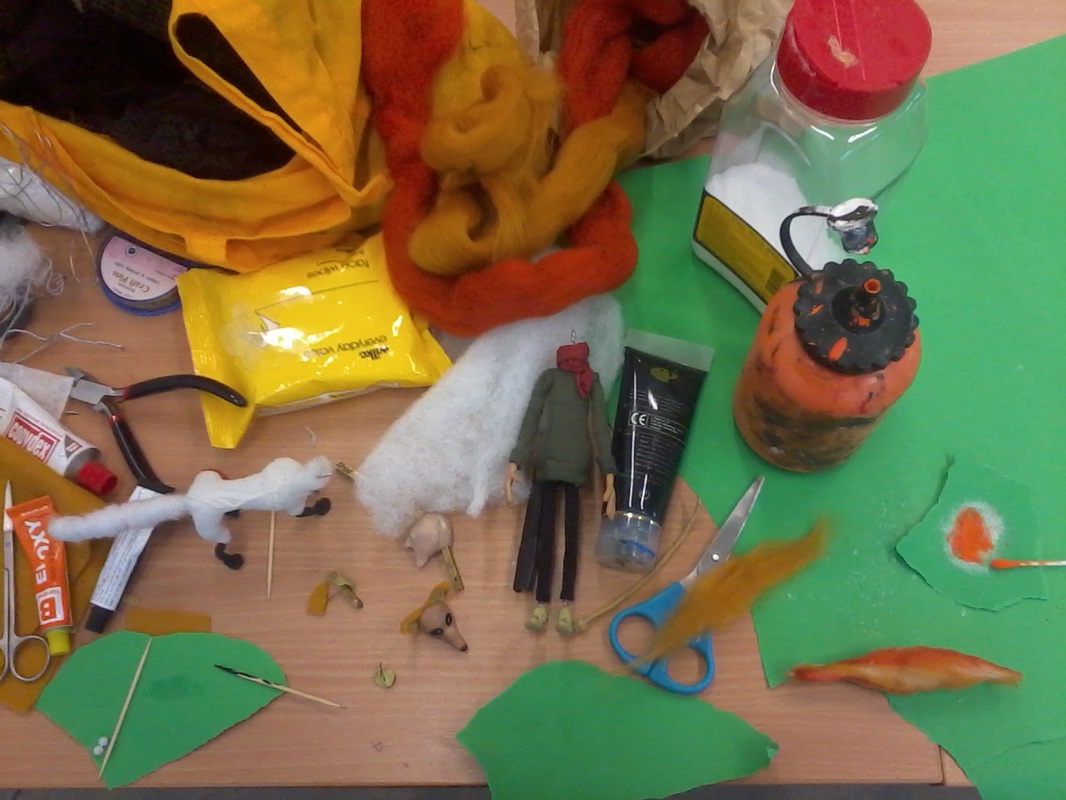
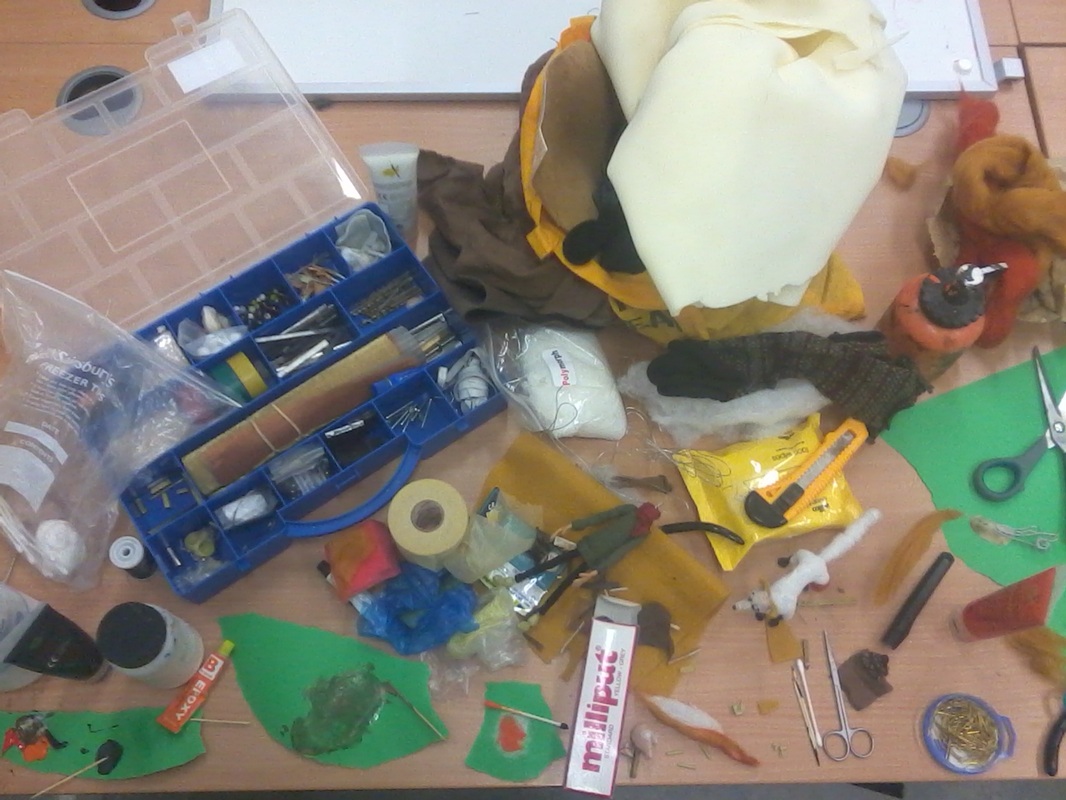
Some work in progress making armatures, testing out scale and form and material use, etc.
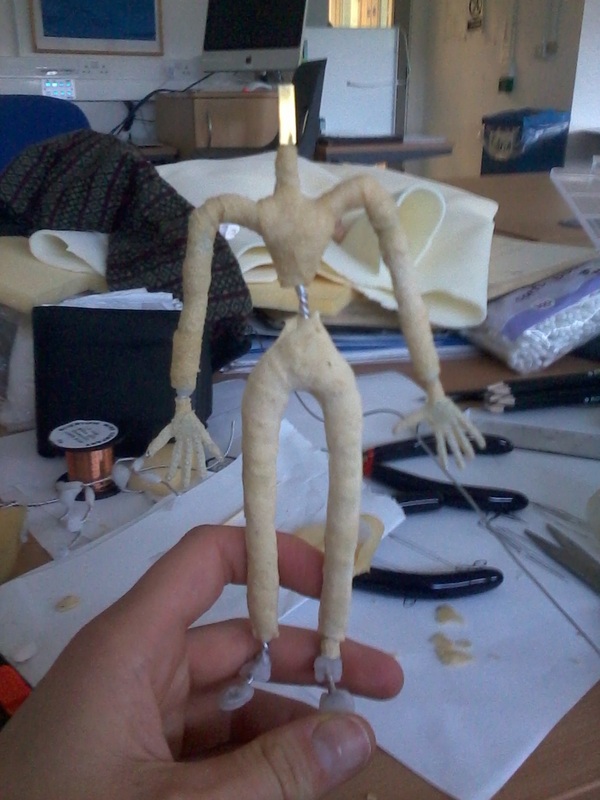
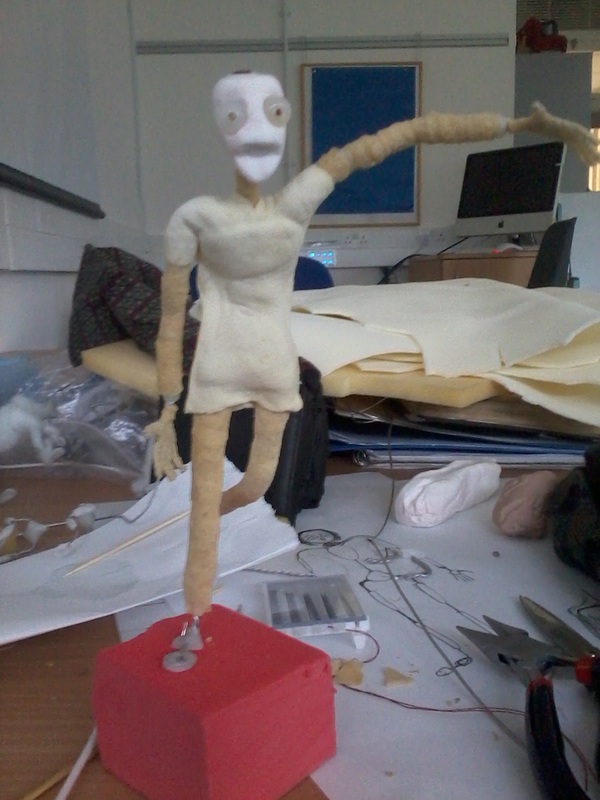
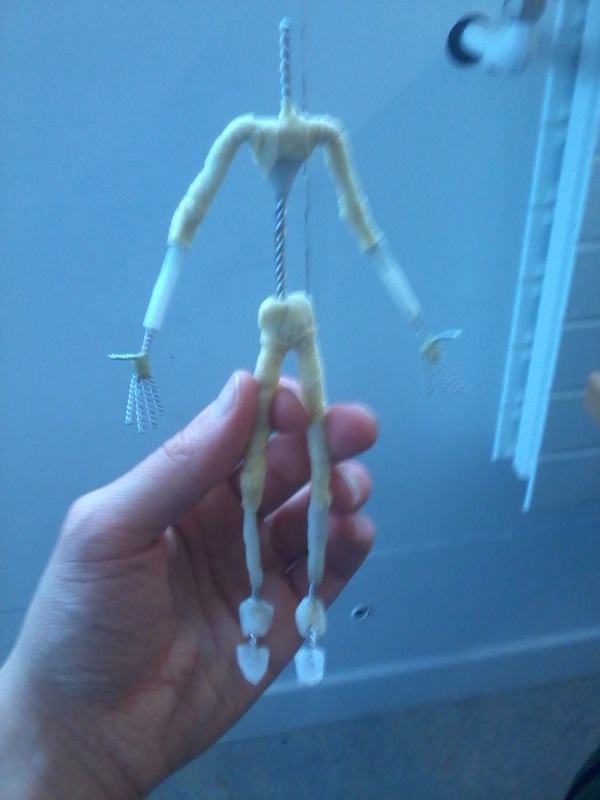
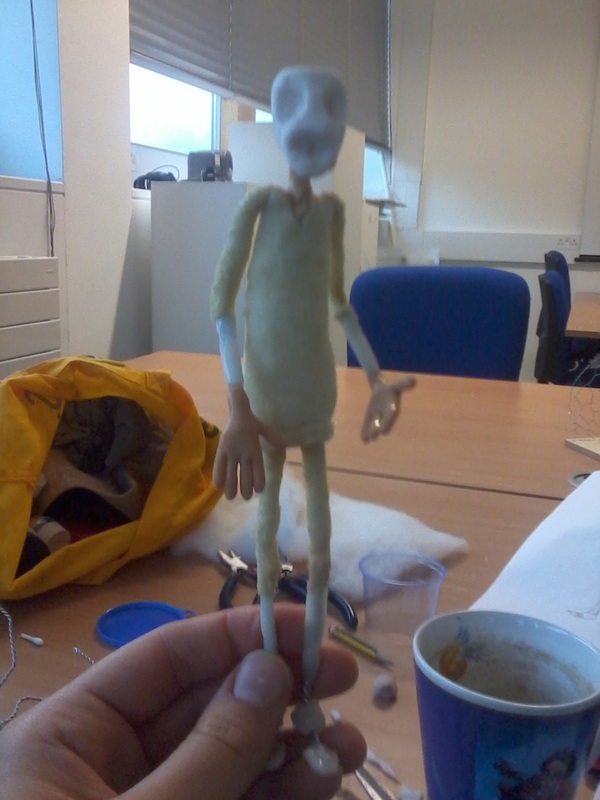
Below is the continuation of the first prototype of the man puppet. After these first applied foam and latex layers I realized that I was creating unnecessary weight in the body and could make chest & belly lighter by using different filling material.
Below is the continuation of the first prototype of the man puppet. After these first applied foam and latex layers I realized that I was creating unnecessary weight in the body and could make chest & belly lighter by using different filling material.
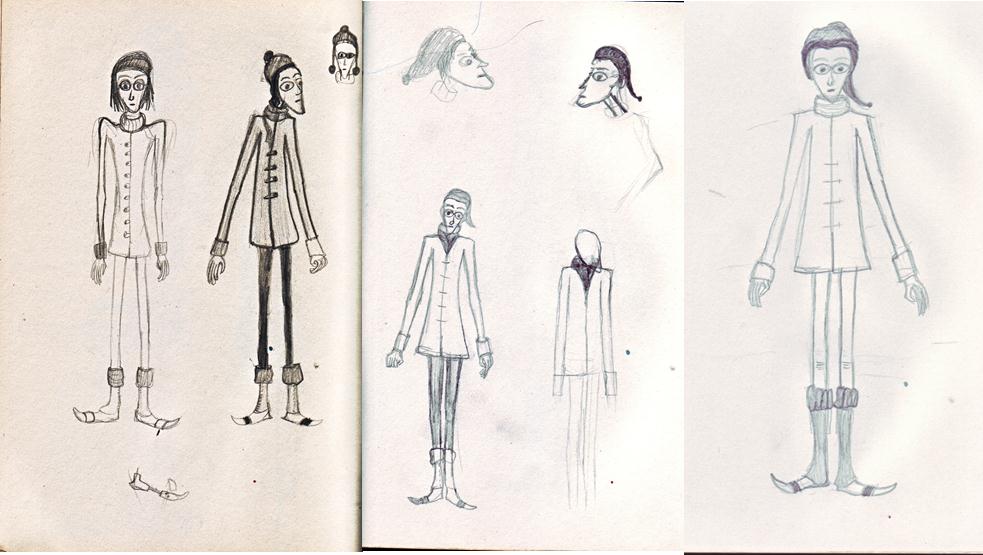
I talkted with Mary about the puppet and the design, as I was not completely satisfied and sure about the final looks of the puppet. She suggested a change in look and shape, to go for some more old style clothing and have the armature narrower and the shapes thinner. This would both help to reduce more weight and increase flexibility as well as giving some opportunities for a more stylized and unique look.
New concept drawings for design and fitting armature..

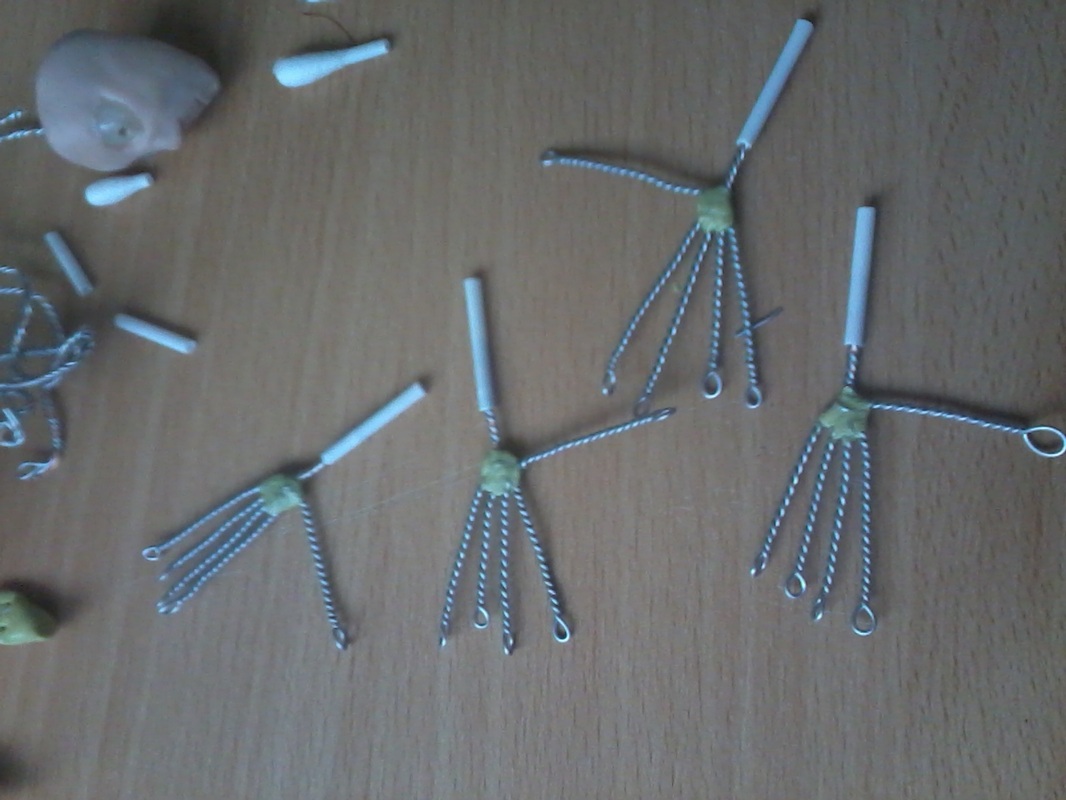
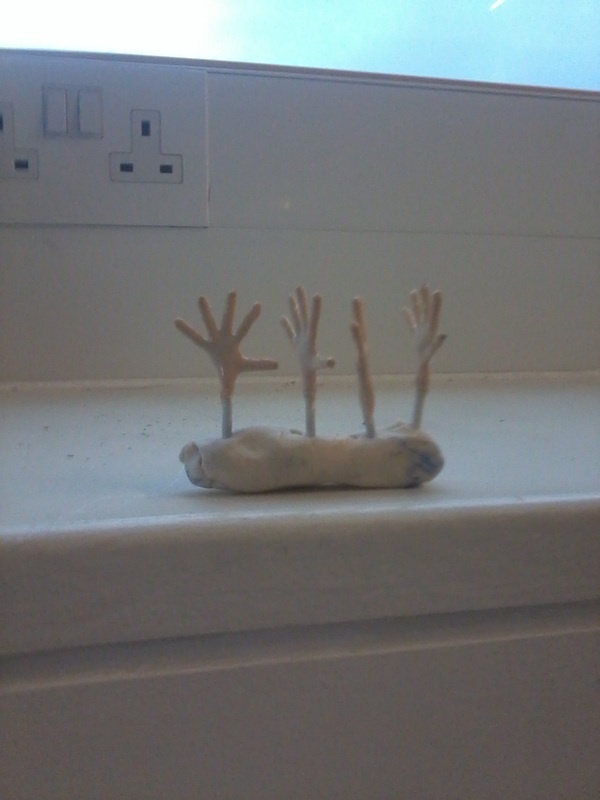
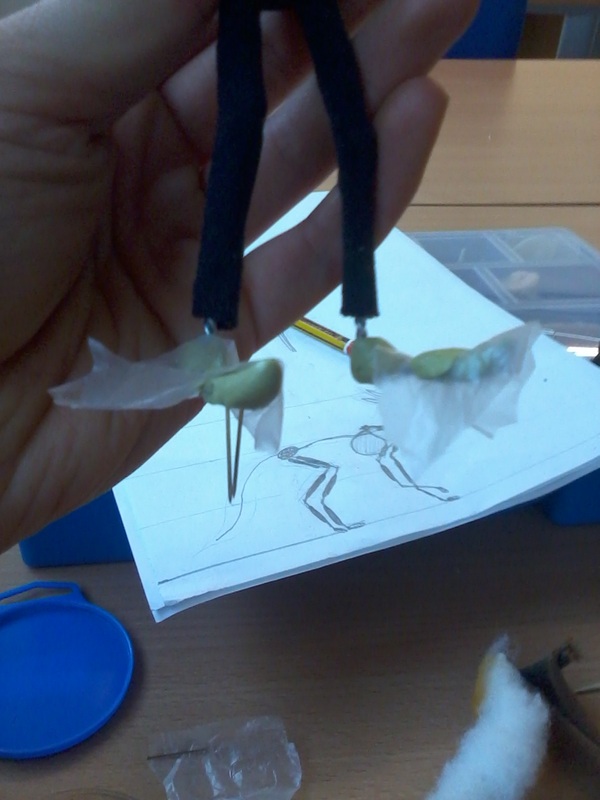
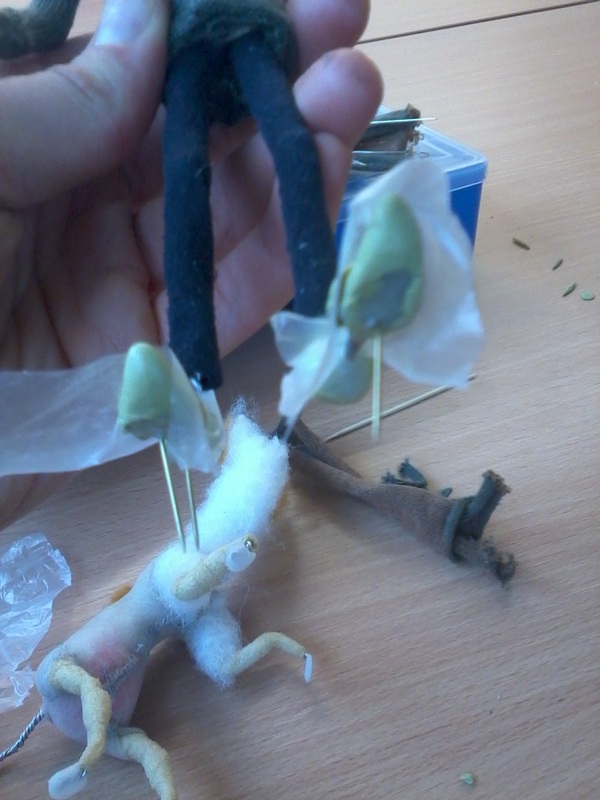
Working on the new puppet, making hands, skinning the body and trying to find a good way to get nicer and more elegant shapes for the feet, while still having well functioning pin down holes.
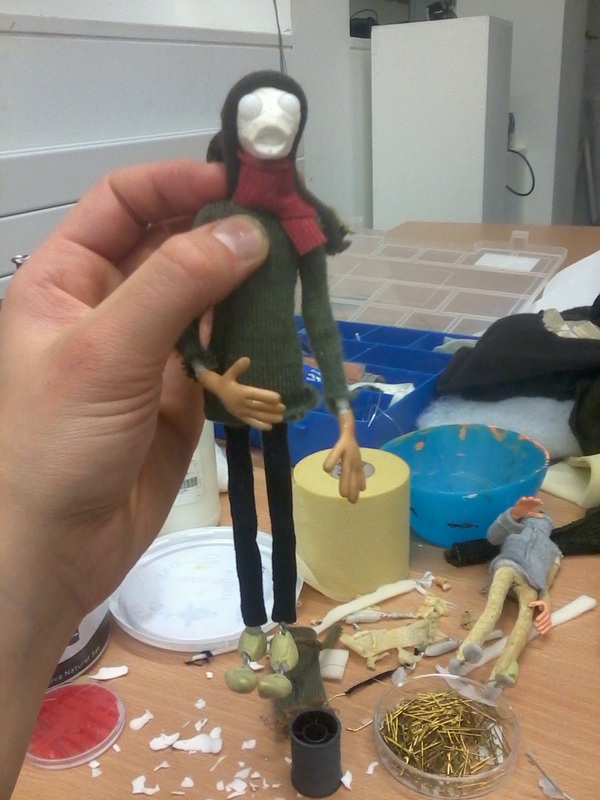
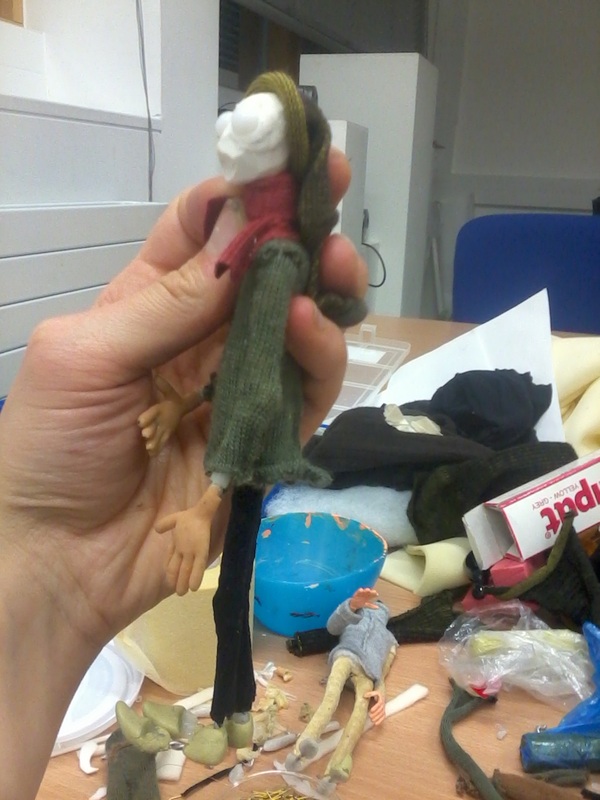
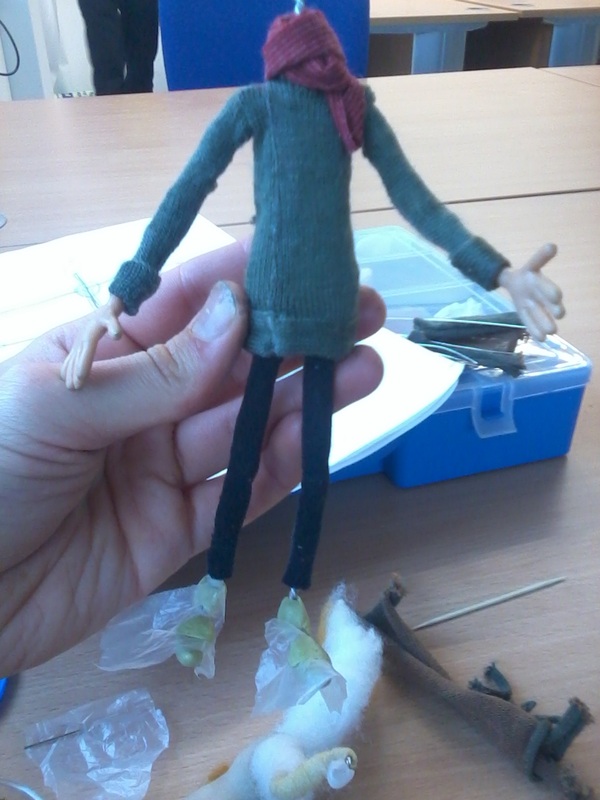
Below the making is continued. I sat down with Mary to learn some tricks for puppet costume making, very fine sewing but also making fine seams by mainly using sprayglue or tiny amounts of latex to make double edges and glue everything to the puppet. In the end I mainly have used the glueing method and it seems to look and work well for such a small scale puppet, where even tiny stitches would easily look out of proportion.
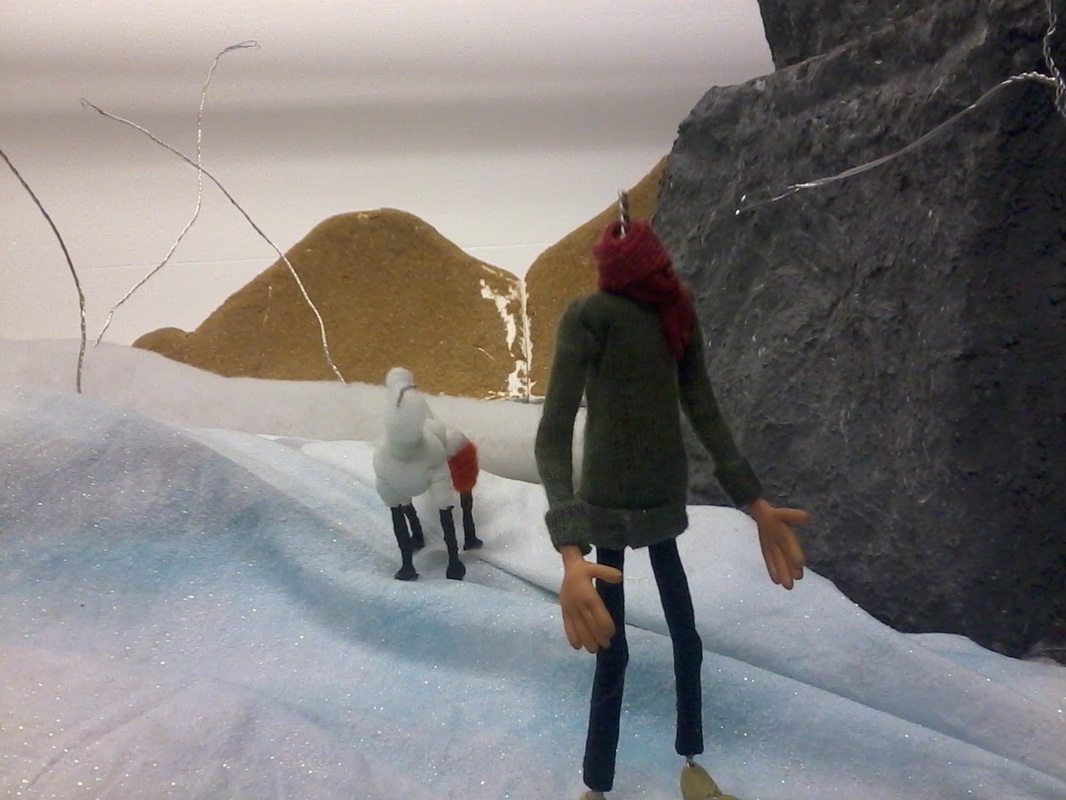
Here I am trying out the look with an added scarf and the clothes attached so far.
The pictures in the lower row show an effort to make a specific kind of pin down mechanism, incorporating the pins in a milliput plate that it attached as part of the shoe. An interesting method, but I couldn't get it working properly. The pins would still wiggle about in the thin milliput plate or they had ended up crossing each other so wouldn't work in a plate with two pins you attach as a whole. Also it seemed a questionable method when the puppet is raising a food and pins would still be visible underneath... or have two versions of plates.... An interesting method when giving it a bit more thought and fix some little problems I think, but for ease and speed I decided to just go for pins directly through the feet. This will m ean seeing the top of the pins sticking out at the top, which could be either erased in post or accepted as part of the shoe design...
Below the making is continued. I sat down with Mary to learn some tricks for puppet costume making, very fine sewing but also making fine seams by mainly using sprayglue or tiny amounts of latex to make double edges and glue everything to the puppet. In the end I mainly have used the glueing method and it seems to look and work well for such a small scale puppet, where even tiny stitches would easily look out of proportion.
Here I am trying out the look with an added scarf and the clothes attached so far.
The pictures in the lower row show an effort to make a specific kind of pin down mechanism, incorporating the pins in a milliput plate that it attached as part of the shoe. An interesting method, but I couldn't get it working properly. The pins would still wiggle about in the thin milliput plate or they had ended up crossing each other so wouldn't work in a plate with two pins you attach as a whole. Also it seemed a questionable method when the puppet is raising a food and pins would still be visible underneath... or have two versions of plates.... An interesting method when giving it a bit more thought and fix some little problems I think, but for ease and speed I decided to just go for pins directly through the feet. This will m ean seeing the top of the pins sticking out at the top, which could be either erased in post or accepted as part of the shoe design...
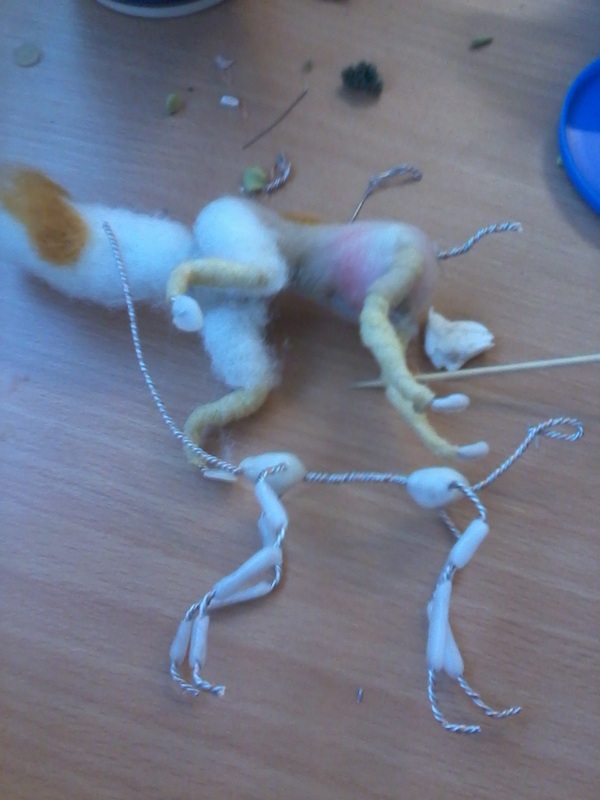
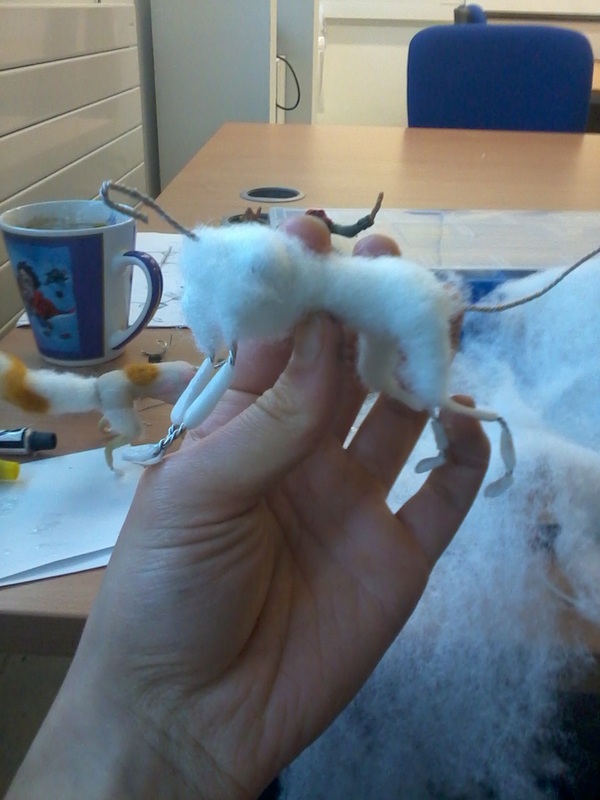
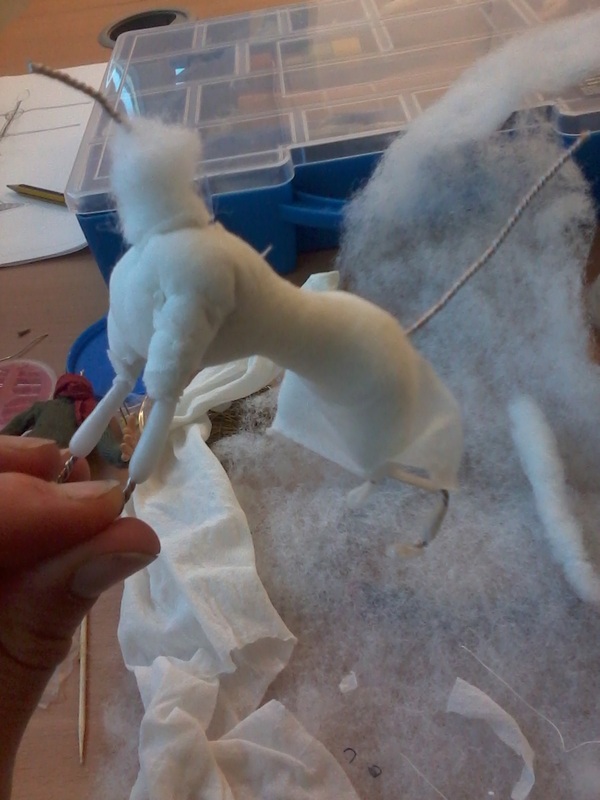
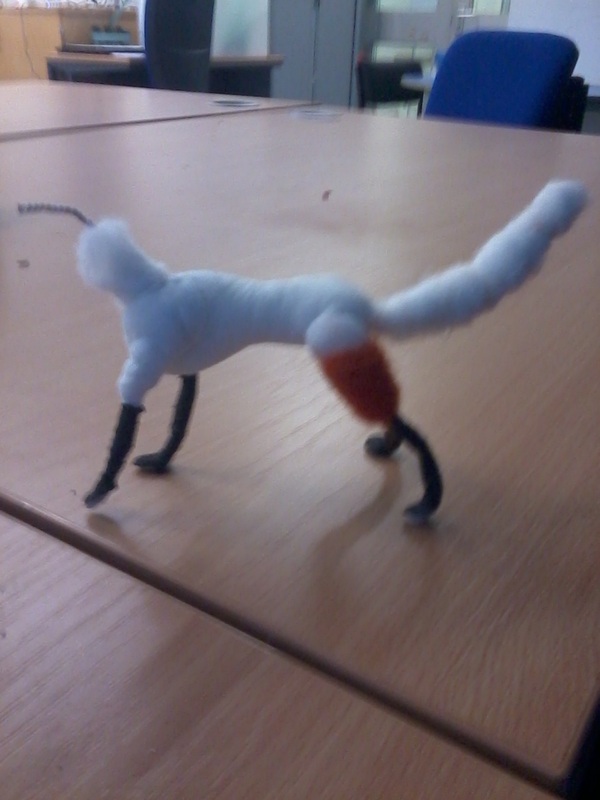
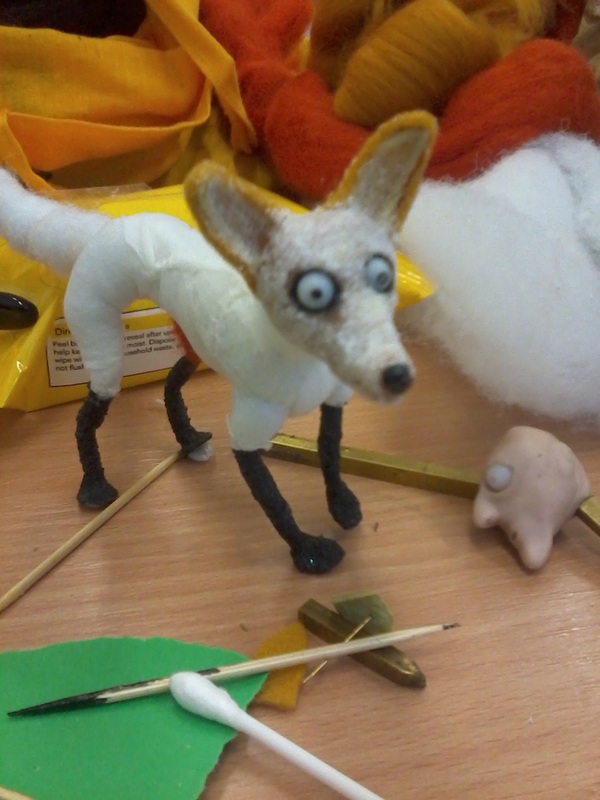
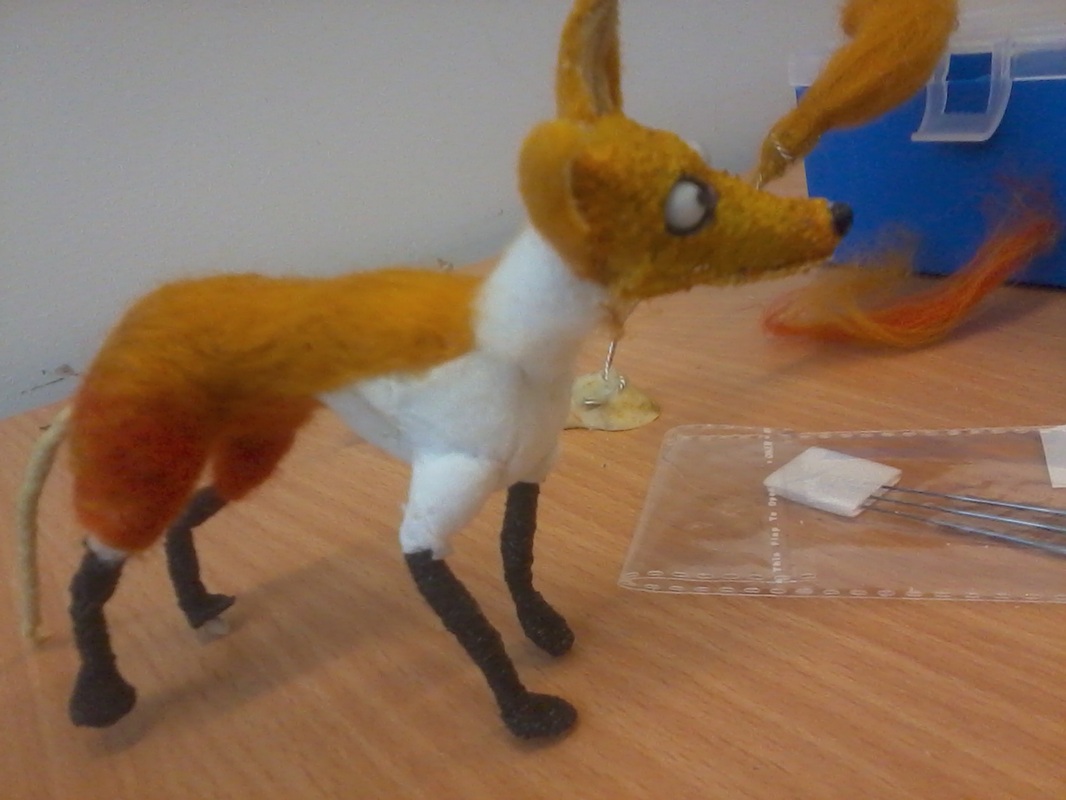
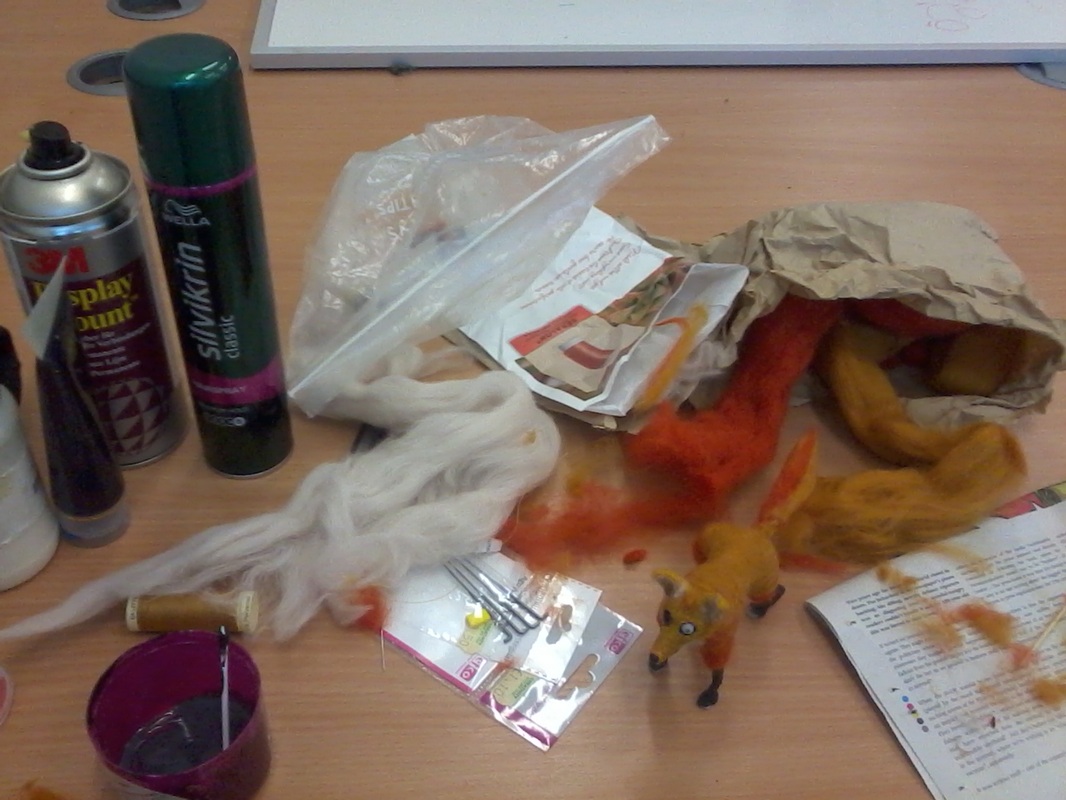
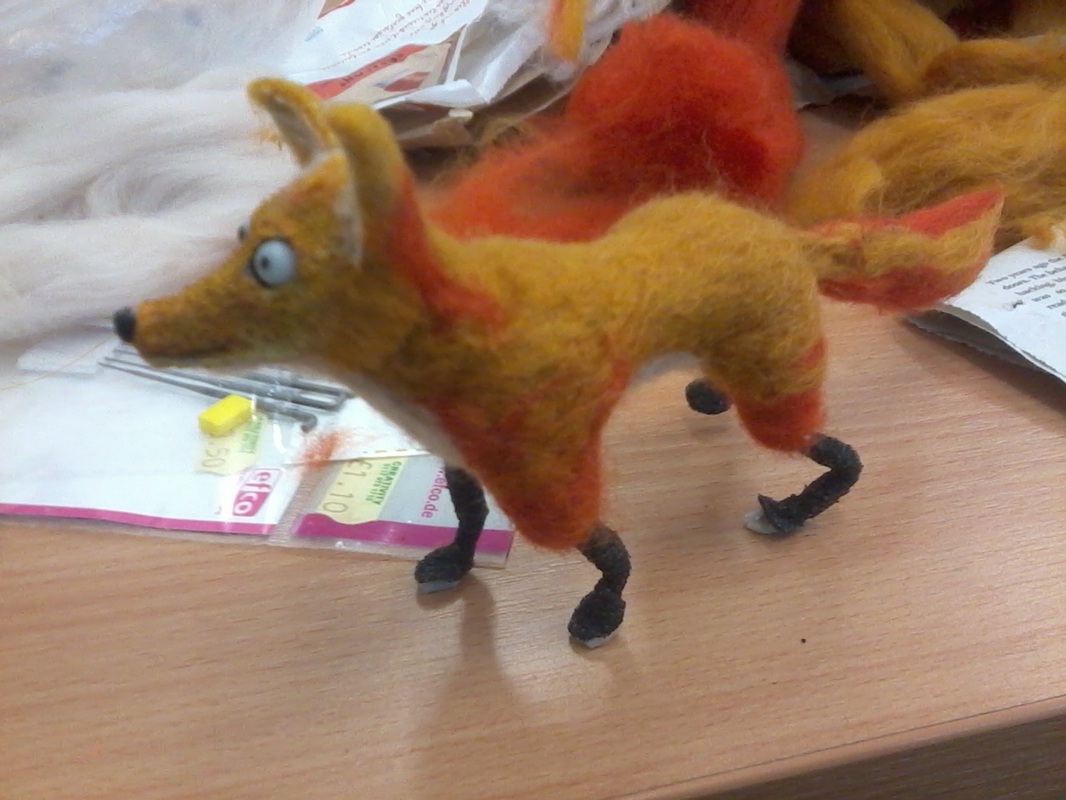
Images below show some progress on the fox puppet. I decided to make a second version as well for this character, as I didn't have clear plans about the finishing details of the puppet when I was making the first one, I wasn't happy with the look of the front legs and chest (too wide) and thought I could make an improved version reasonably fast now.I used solely the soft filling stuf for the body and kept the legs as thin as possible. I improved and finalized the body shape by sewing tights around it and keeping everything as firm and dense as possible. I wasn't sure for a while about the process to make the furry look of the fox work. I was afraid to either have a lot of boiling going on, or no fur, or needing to apply fabric without much stretch. Luckily there was Mary again with a rescuing suggestion. I had vaguely heard about needle felting techniques, but didn't really realize how easy and effective it would be! I quickly researched a bit about needle felting and what I would need and where to buy it. I bouht some needle felting wool in a craft shop and first tried using it with a normal needle or other sharp tools, which seemed to work a little but very slow... So I decided I needed some proper needle felting needles. After this the process went a lot quicker, and I'm pleased with how well it works...
quick and rough test to try if the small scale puppet is any good for facial expressions: to decide whether or not to build a larger scale upper half puppet
for more detail in expression or not. I will be doing another more sophisticated test to see how clean I can get with this, and if not satisfied start working on the larger scale puppet. I finished the puppet over the weekend, his face, costume details, hair and hat. Some better quality pictures/shots still to come...
for more detail in expression or not. I will be doing another more sophisticated test to see how clean I can get with this, and if not satisfied start working on the larger scale puppet. I finished the puppet over the weekend, his face, costume details, hair and hat. Some better quality pictures/shots still to come...
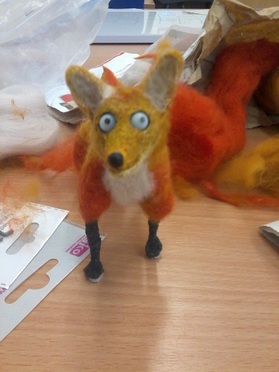
Below some images of the fox in process, up to the finished puppet! It was still a bit of a struggle to get the face right. I was wondering for a while how to blend the hard sculpey face with the furry body, and give it some idea of fur in the face as well. I finally decided to use some of the snow flock Laura had been using for the set building to try and glue that to the head and paint over it. I did a quick test on a bit of paper first and when that seemed to work applied it to the face. I used foam and felt for the ears, attached around the wires. I first applied all the needle felting wool to the rest of the body and still needed some way of applying it all the way up to the face. I couldn't use the needle felting technique here as there is a hard surface underneath a tiny bit of wool, so not much to stick the wool into and start the felting process. So I just finished the needle felting all the way up to the head and glued tiny bits of wool downat the area between the neck and head. I had bought some hairspray as well and did a little test earlier to see if that would help getting rid of some fluffiness that would become a problem when animating, without making the fur move and fold in an unnatural way. I was quite happy with the results, so for the last finishing touches I used the hairspray to keep down some fur a bit more.
Below another expression test with the small man puppet. I wanted to try if I could get it cleaner and clearer expressions, but I'm definitely not satisfied. The tiniest bits of unbaked sculpey for the eyelids just make it all look bulky and messy. Will have to start working on the large scale puppet...
I also did a very brief test with the fox puppet to see what problems may arise during animating.. I'm quite pleased with how he animates and moves, just need to put something sticky in one of the eye sockets where the eye is loose. It is quite a small puppet to animate slow and subtle movements. It is very easy to make other parts of the fox move when not desirable while moving other parts, but I think I just need to get to know the puppet a bit better. He is very light and the thin wire works well for very easy movement, there is a fair amount of spring back of course, but taking that in consideration I think he will be a nice little puppet to animate.
